Two different processes are carried out if you are,
1. If you are already using Cloudflare CDN,
This process is called "Automatic Setup". To proceed with it, you should have the "Orange cloud"
turned on.
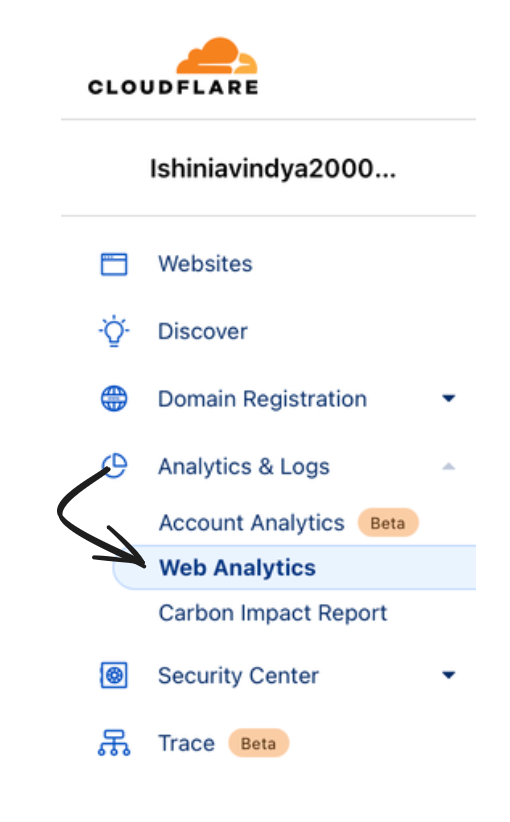
- Login to your Cloudflare account
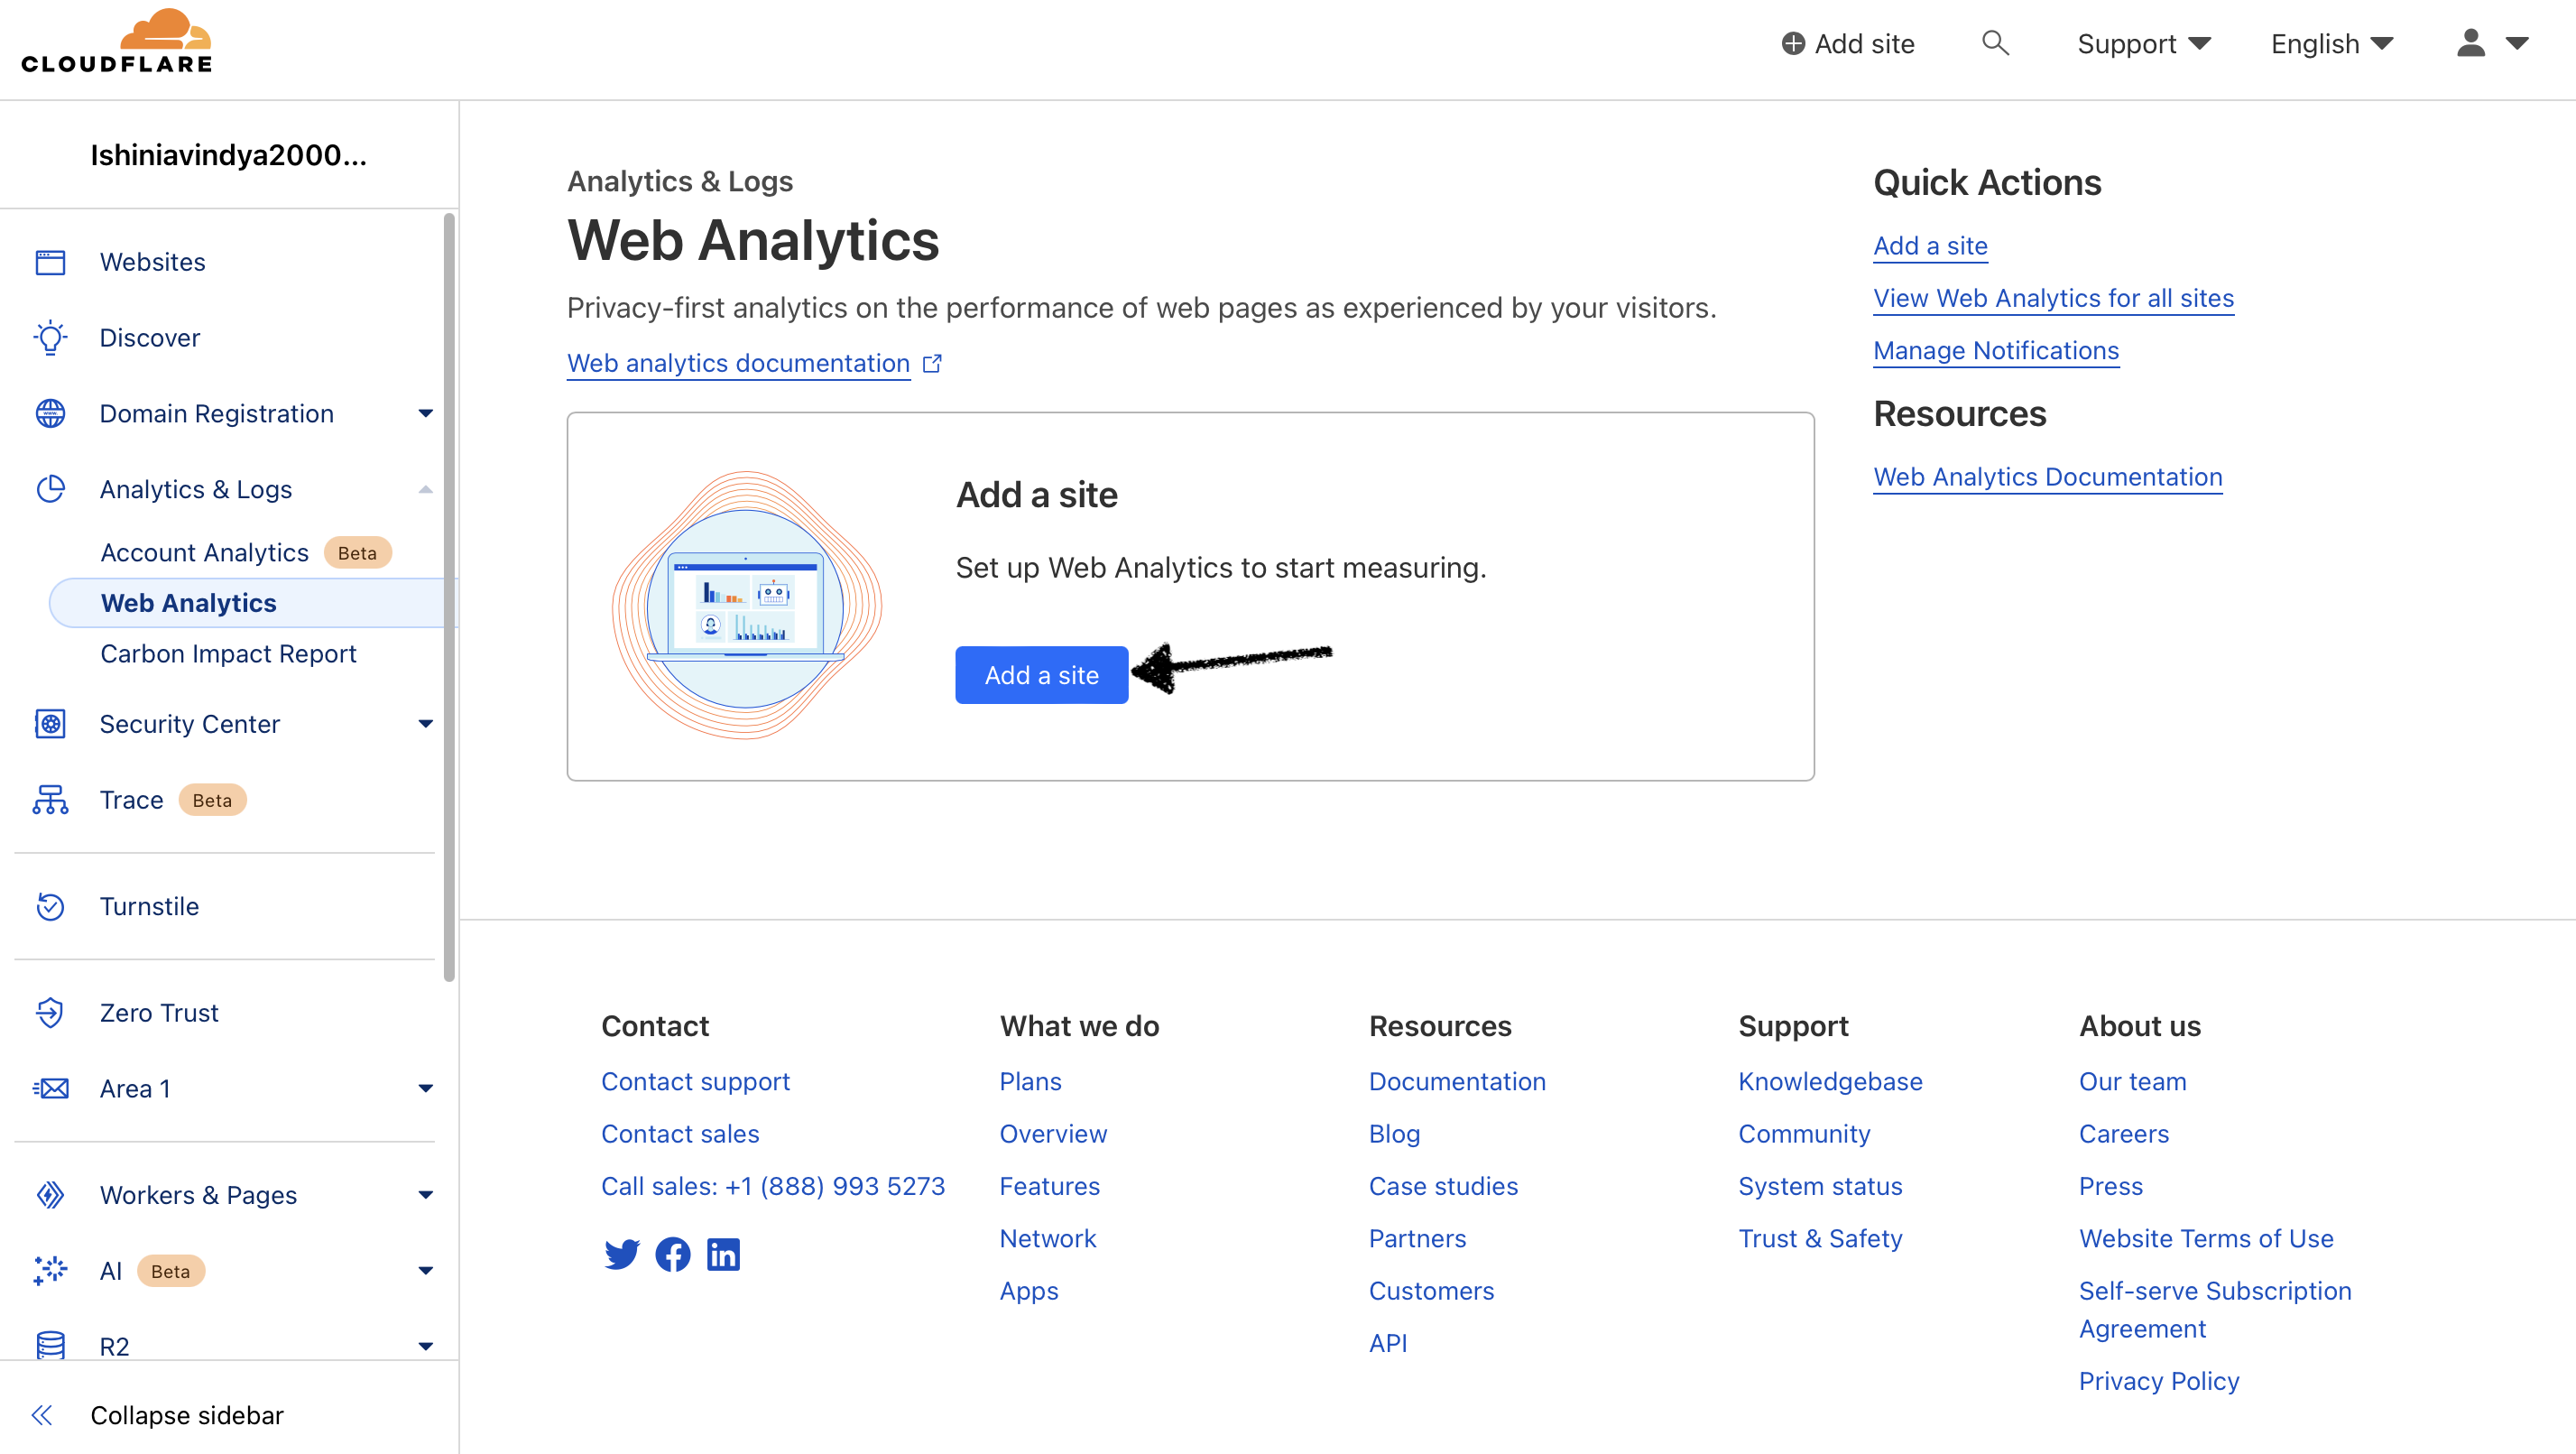
- Click Analytics & Logs → Web Analytics.
- Click Add a Site.
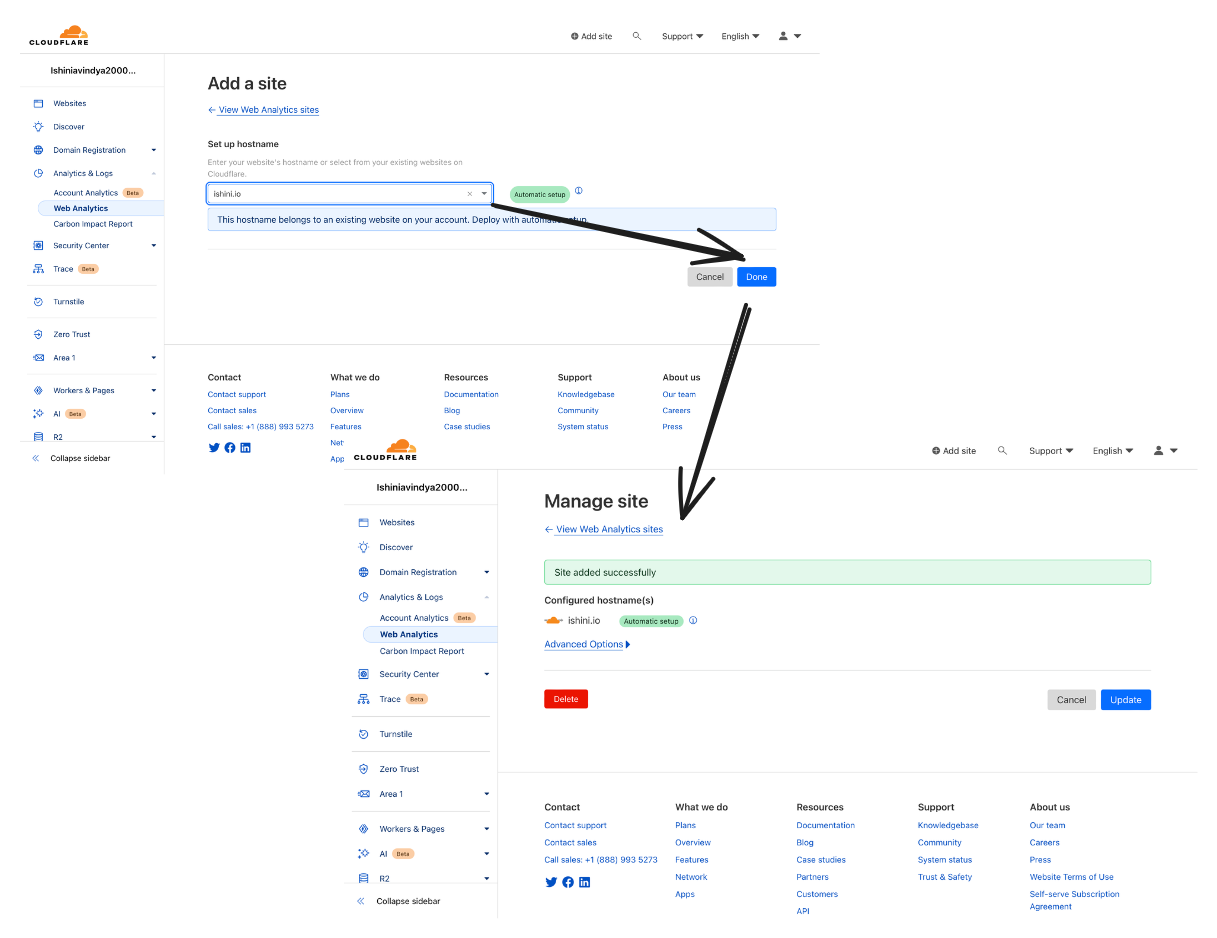
- Once you click on input space, it will show your domain (in a dropdown) that is already
managed by Cloudflare. Click on your blog domain and proceed by clicking Done. This is
called Automatic Setup.
Now you can see your site has been added.You can check it by going to Analytics & Logs → Web Analytics.
2. If you do not use Cloudflare CDN,
2.1. Adding Your Blog to Cloudflare Analytics
After you signed in to your Cloudflare account, you can add your blog to Cloudflare Analytics.
- Click Analytics & Logs → Web Analytics.
- Click Add a Site.
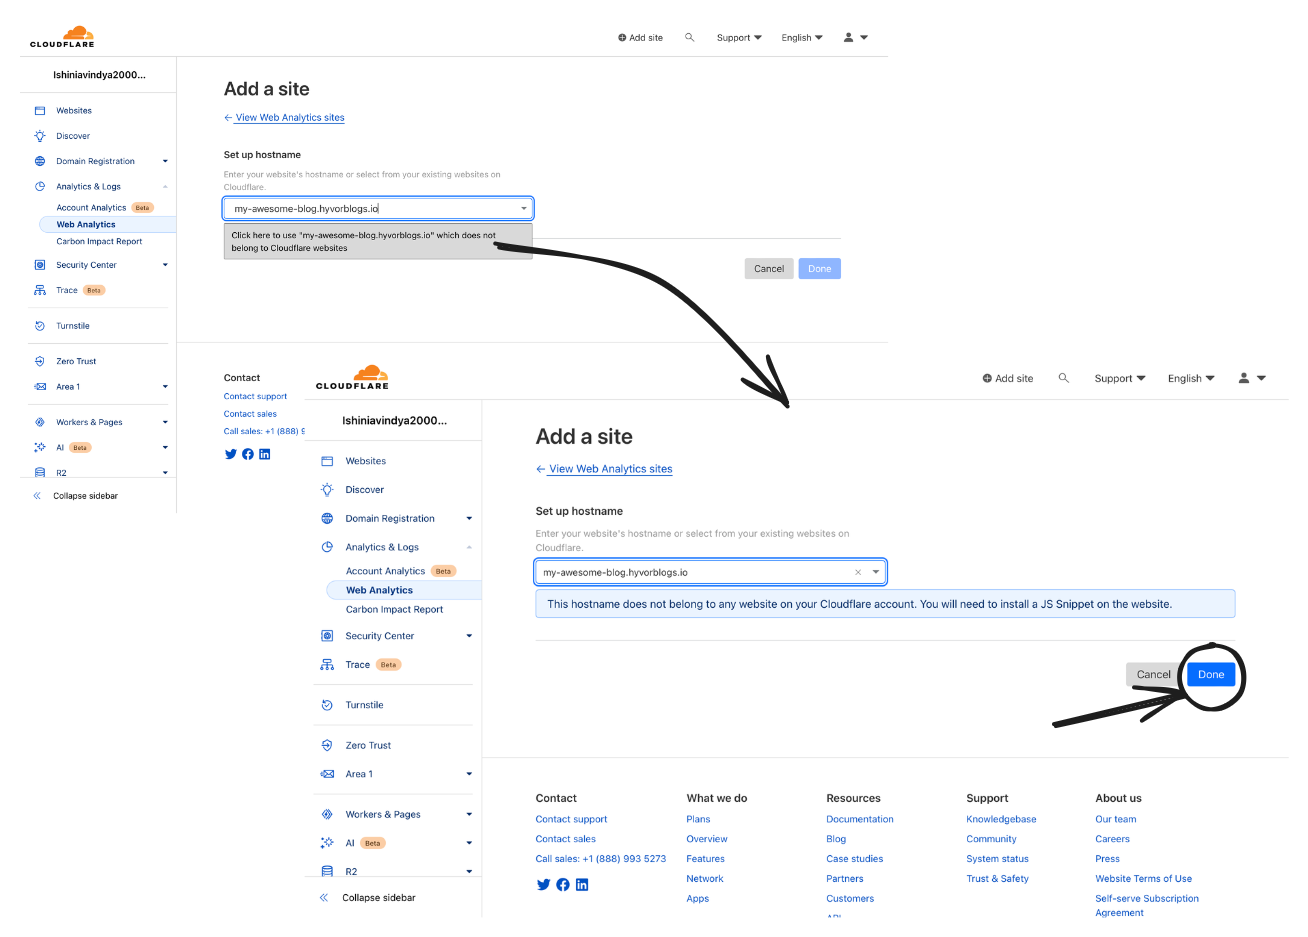
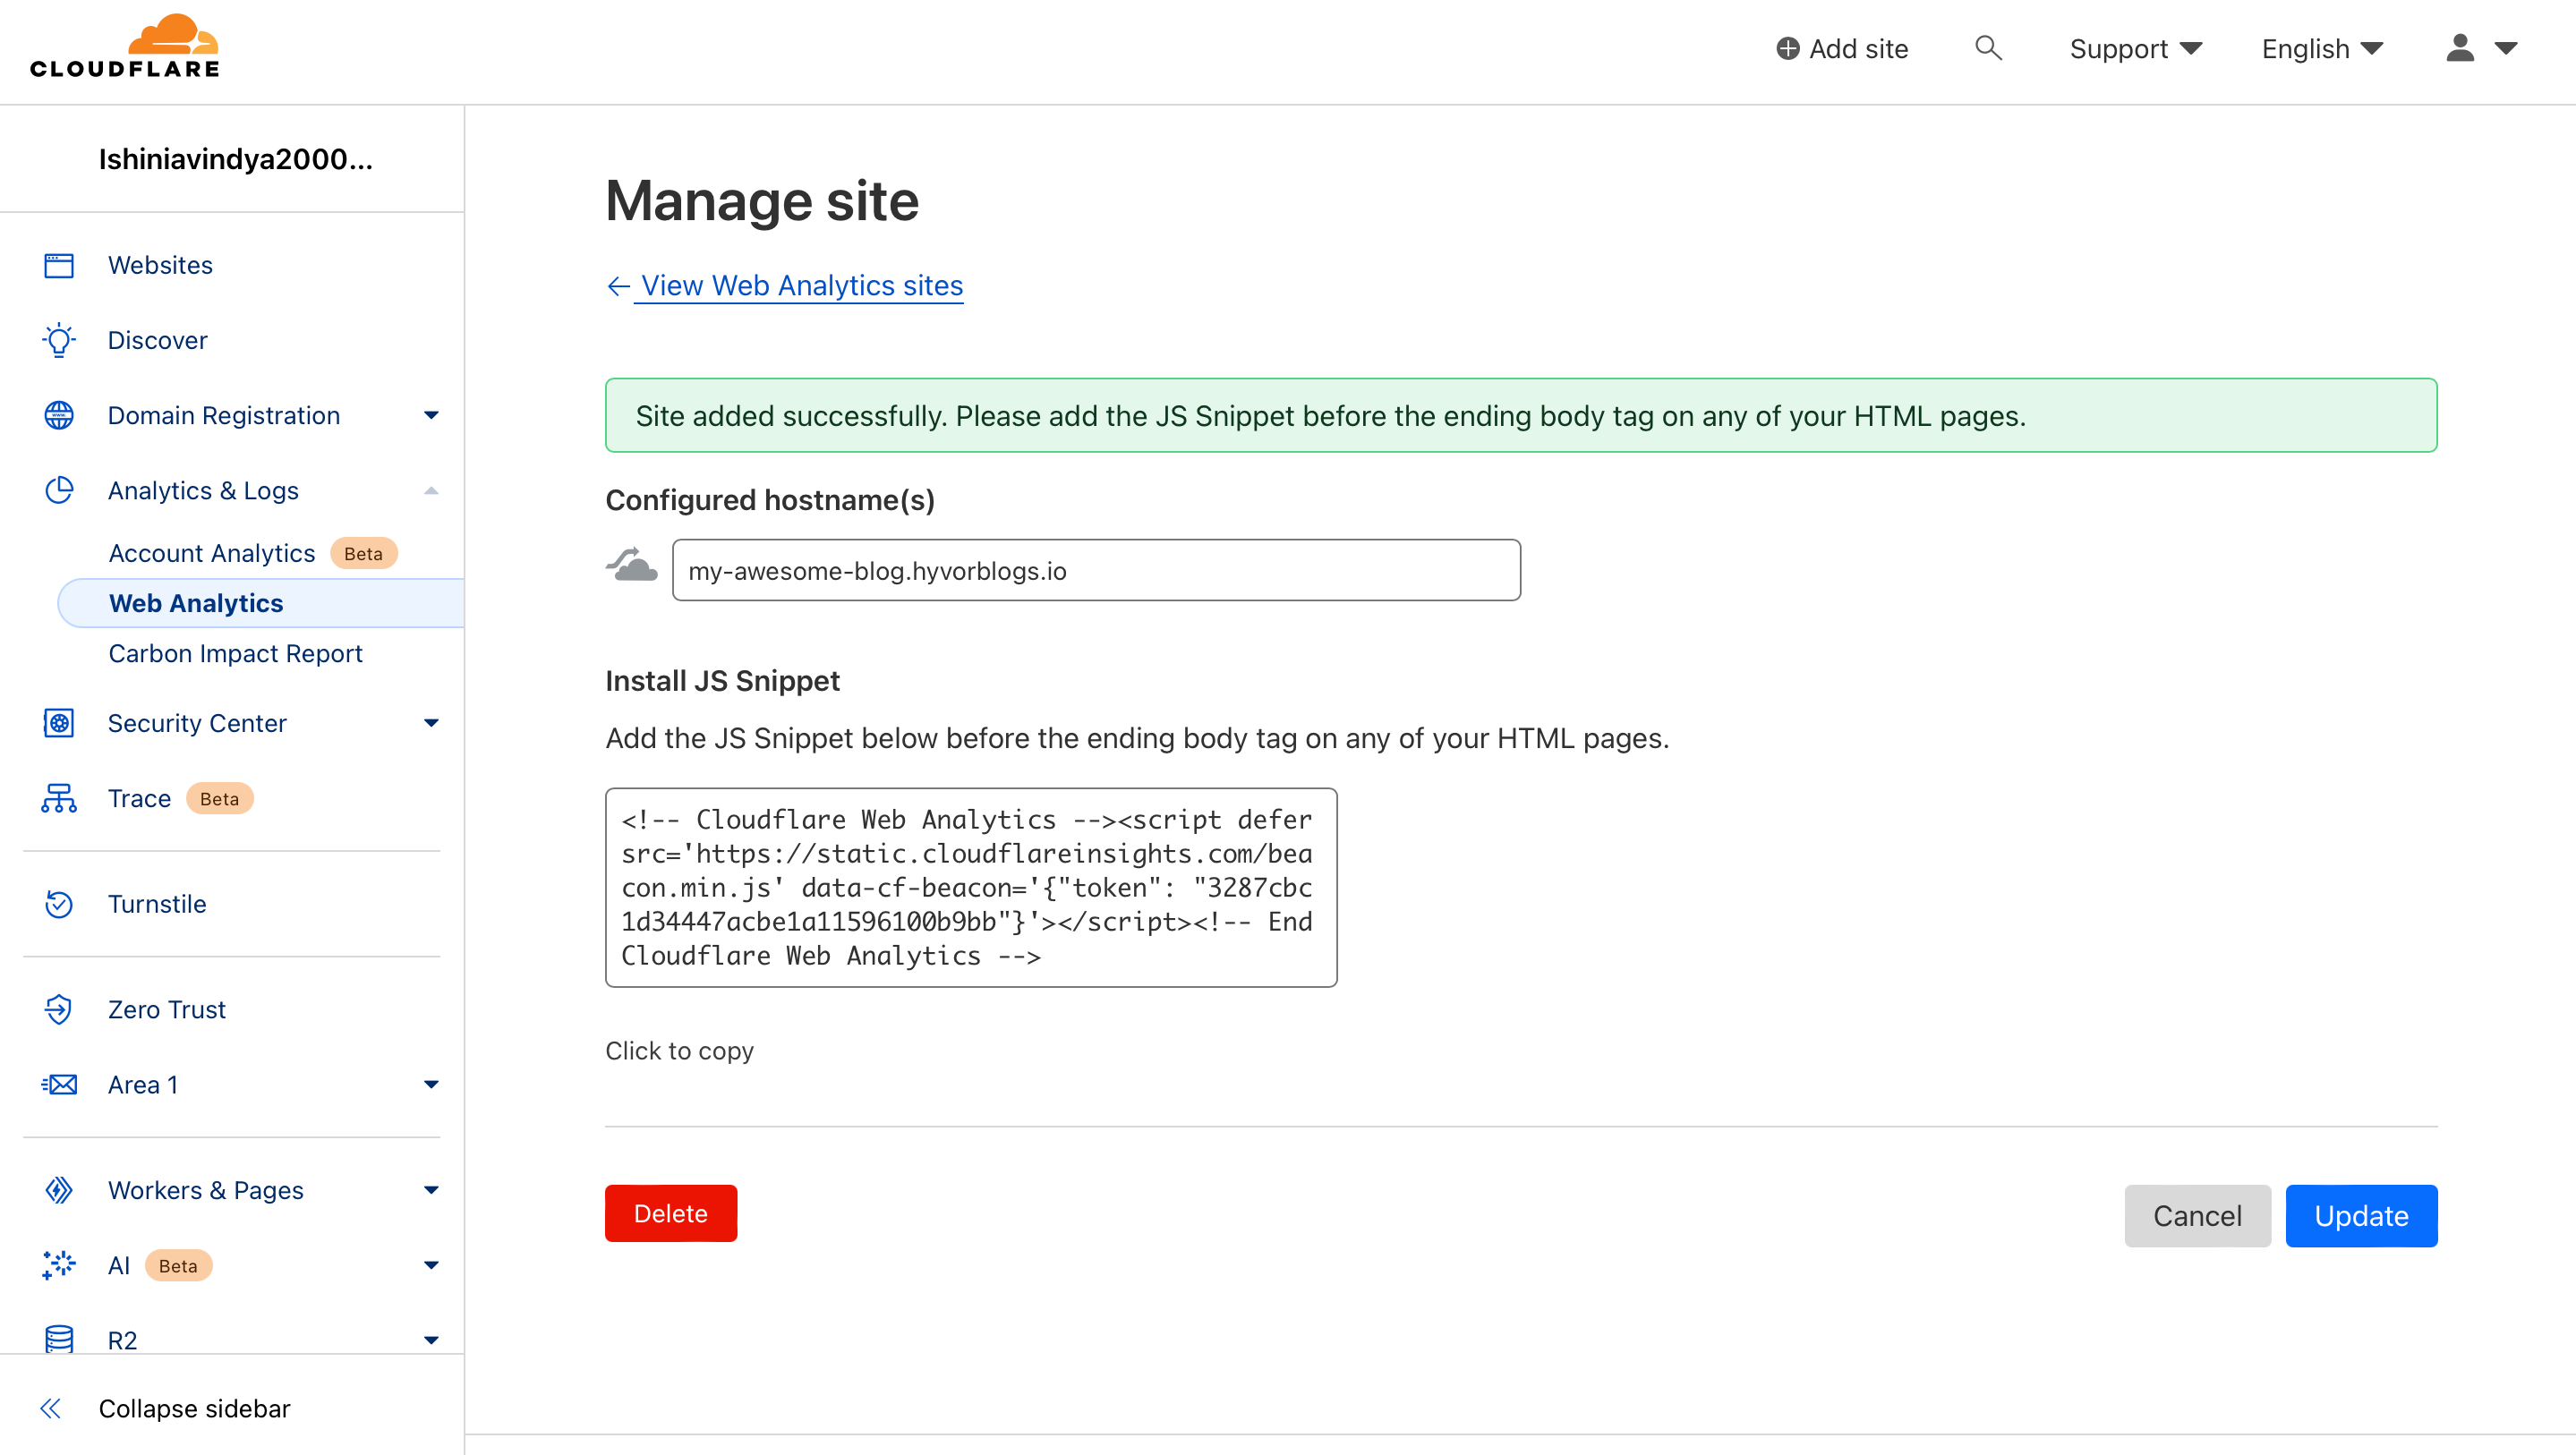
- Enter your blog URL (ex:
myawesomeblog.hyvorblogs.io or myawesomeblog.com). - Click the dropdown which says "Click here to use my-awesome-blog.hyvorblogs.io which does not belong to Cloudflare
websites"
- Click Done.
- Copy the given code
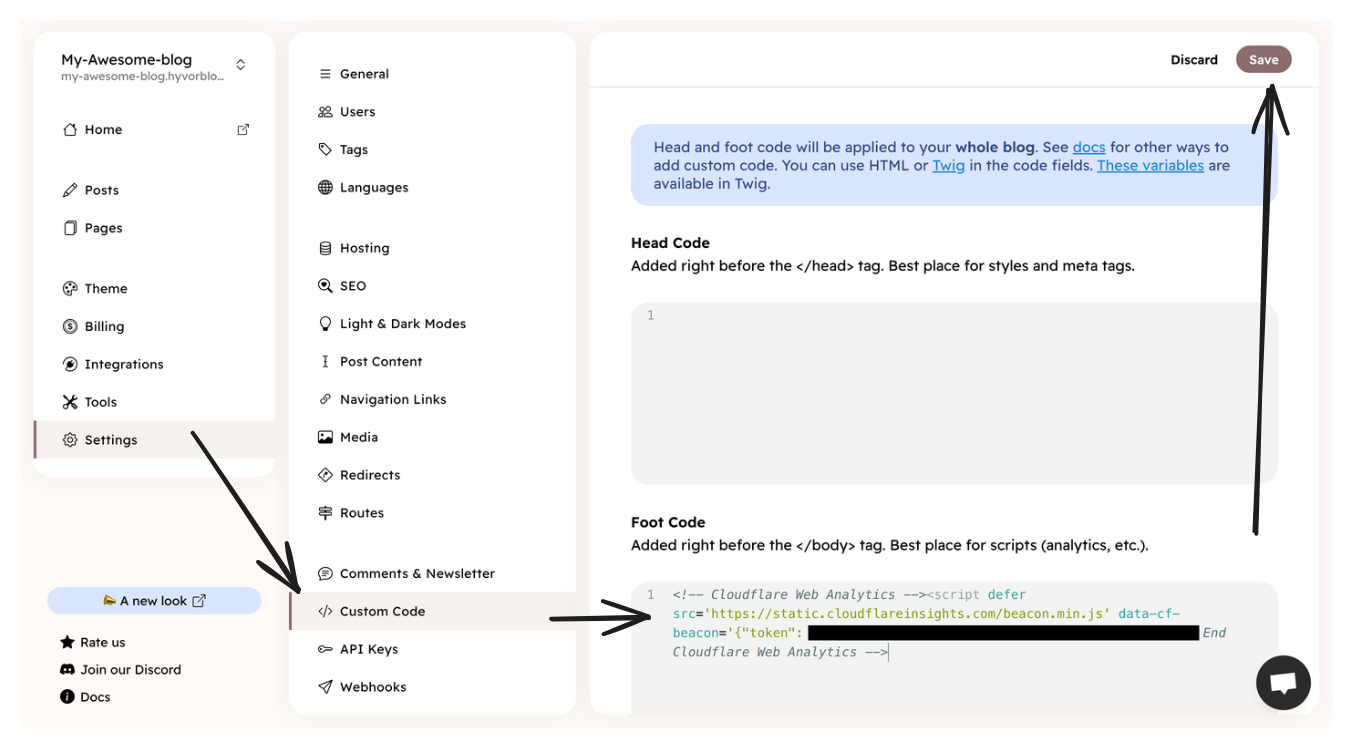
2.2. Adding the Code to Your Blog
- In your blog console go to Settings → Custom code.
- Paste the code you copied from Cloudflare Analytics into the Footer Code section.
- Click Save.
This way, Cloudflare Analytics will be implemented on all the pages of your blog.
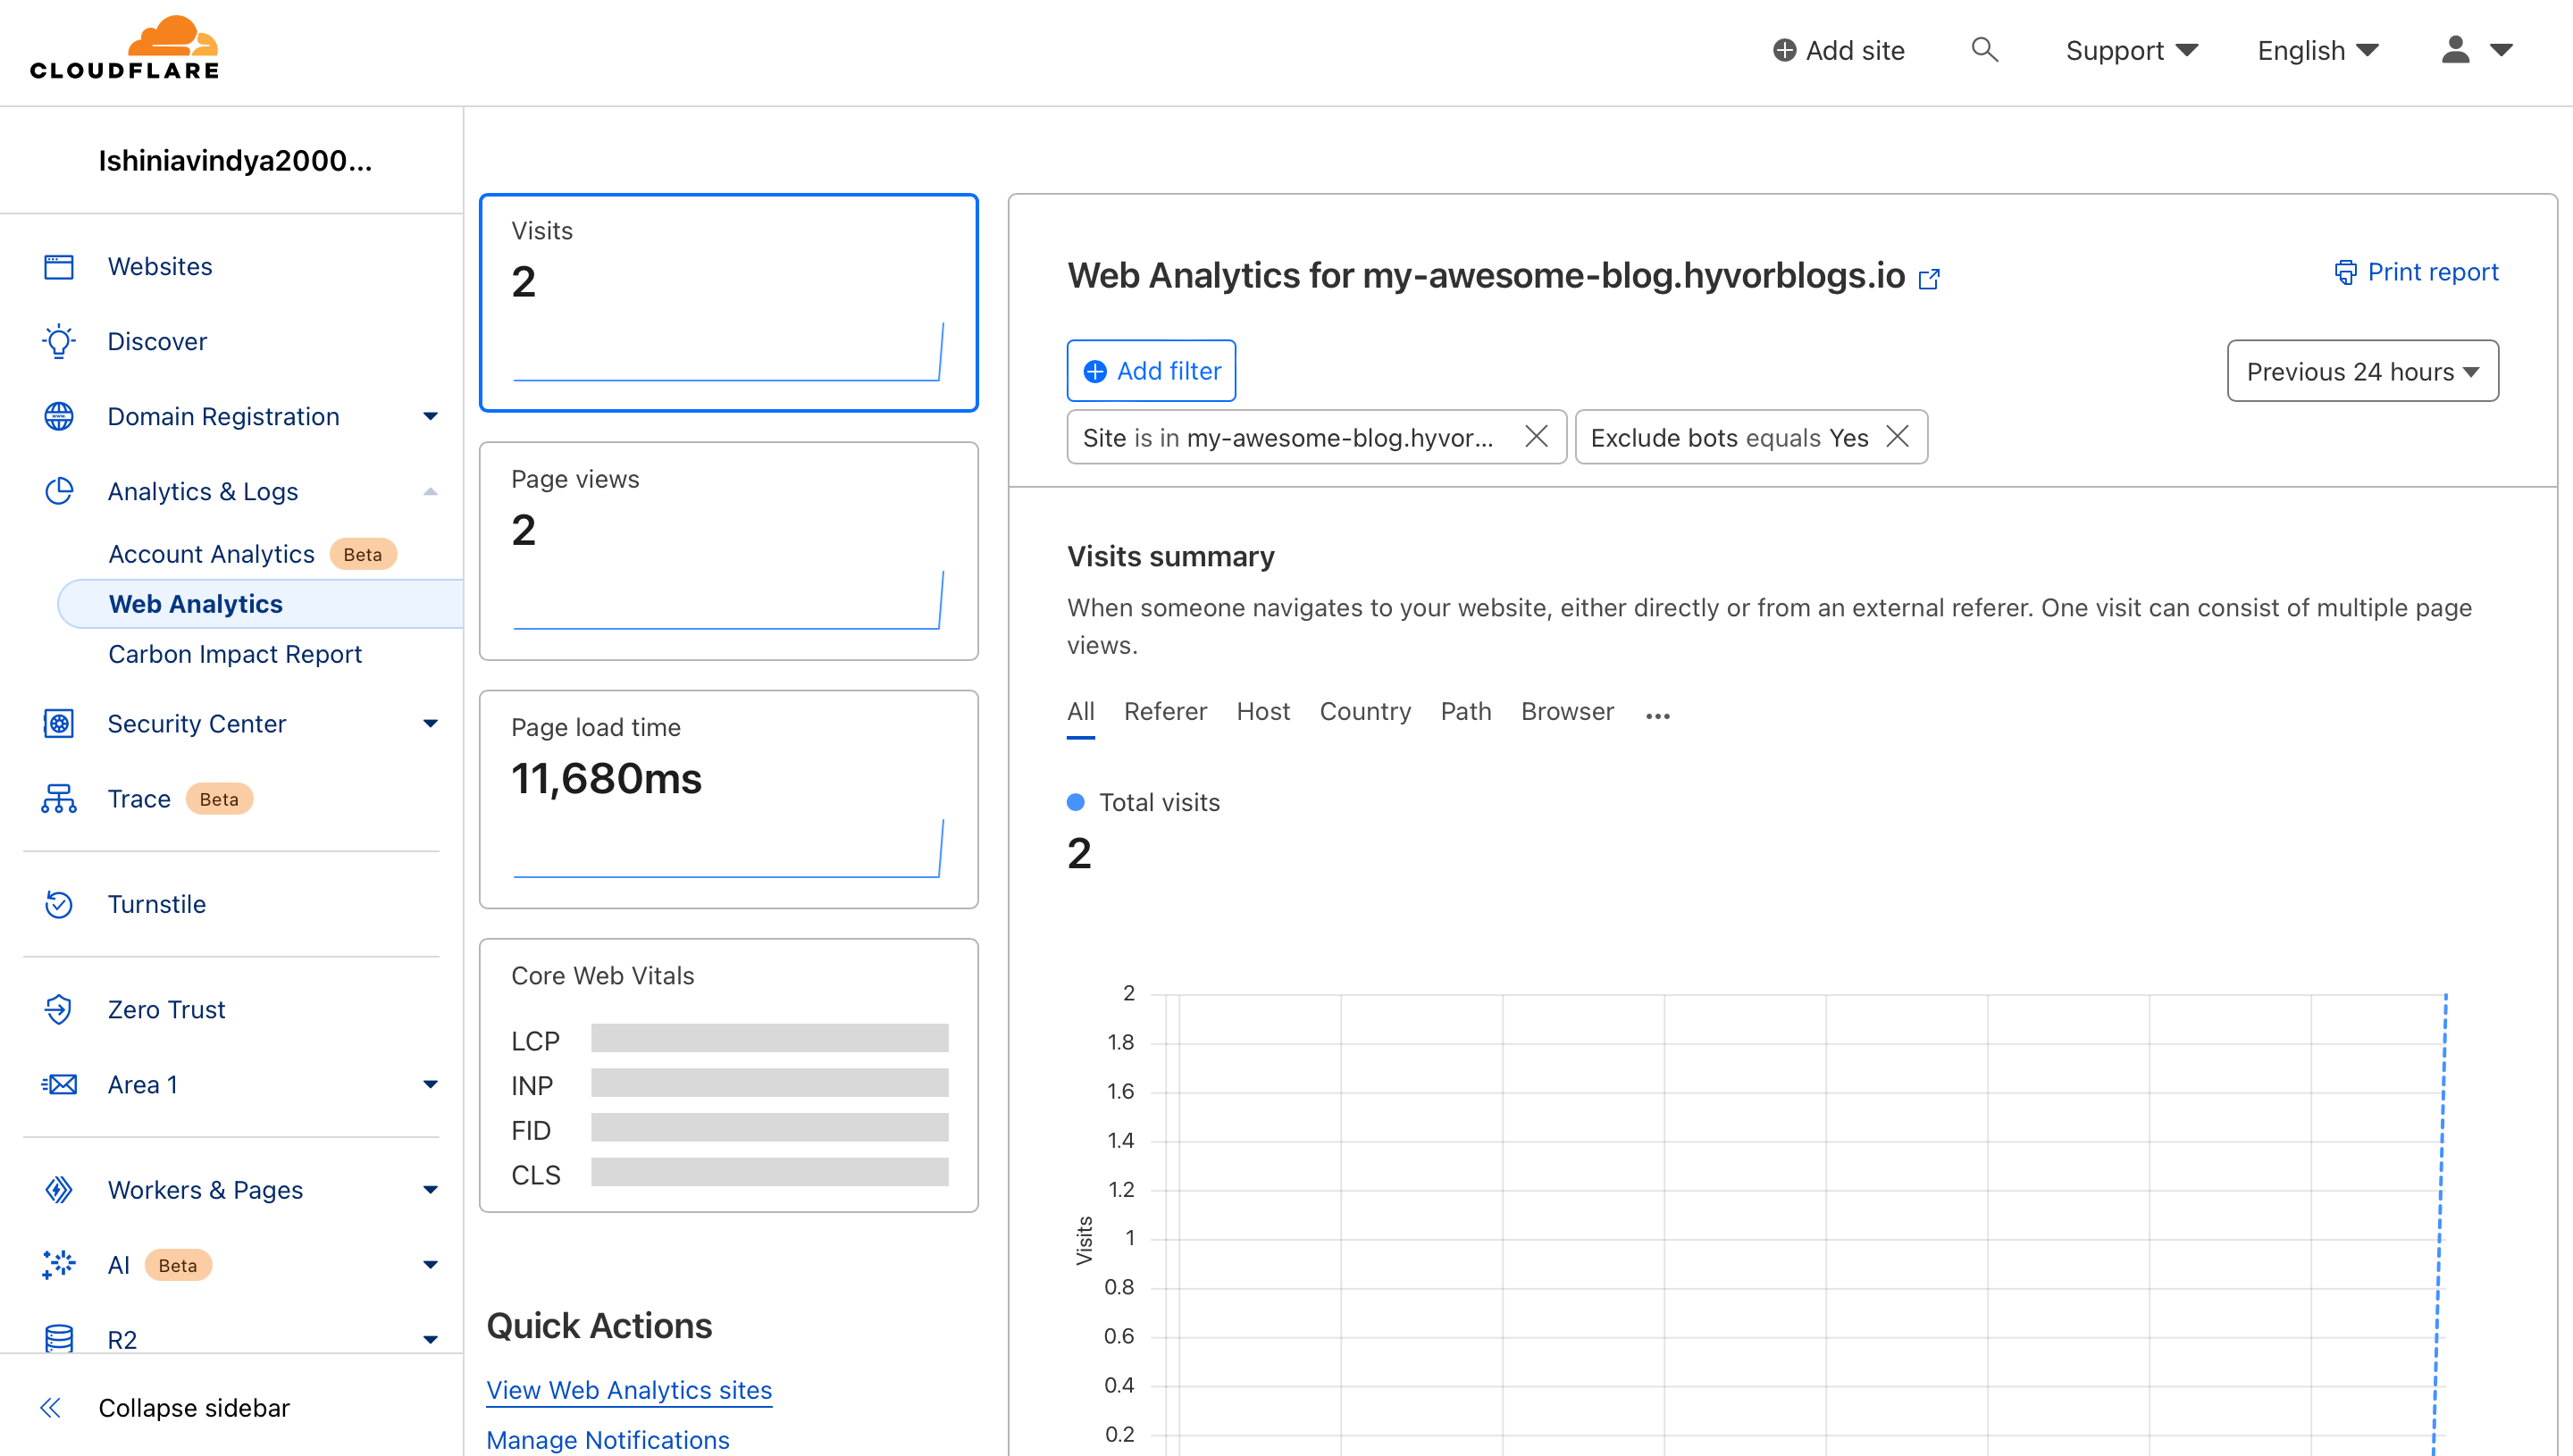
2.3. Verify
After you added the code, you can verify it by going to Analytics & Logs → Web Analytics.
 +
+